How To Make Valentine's Day Earrings: Wonky Wire Hearts
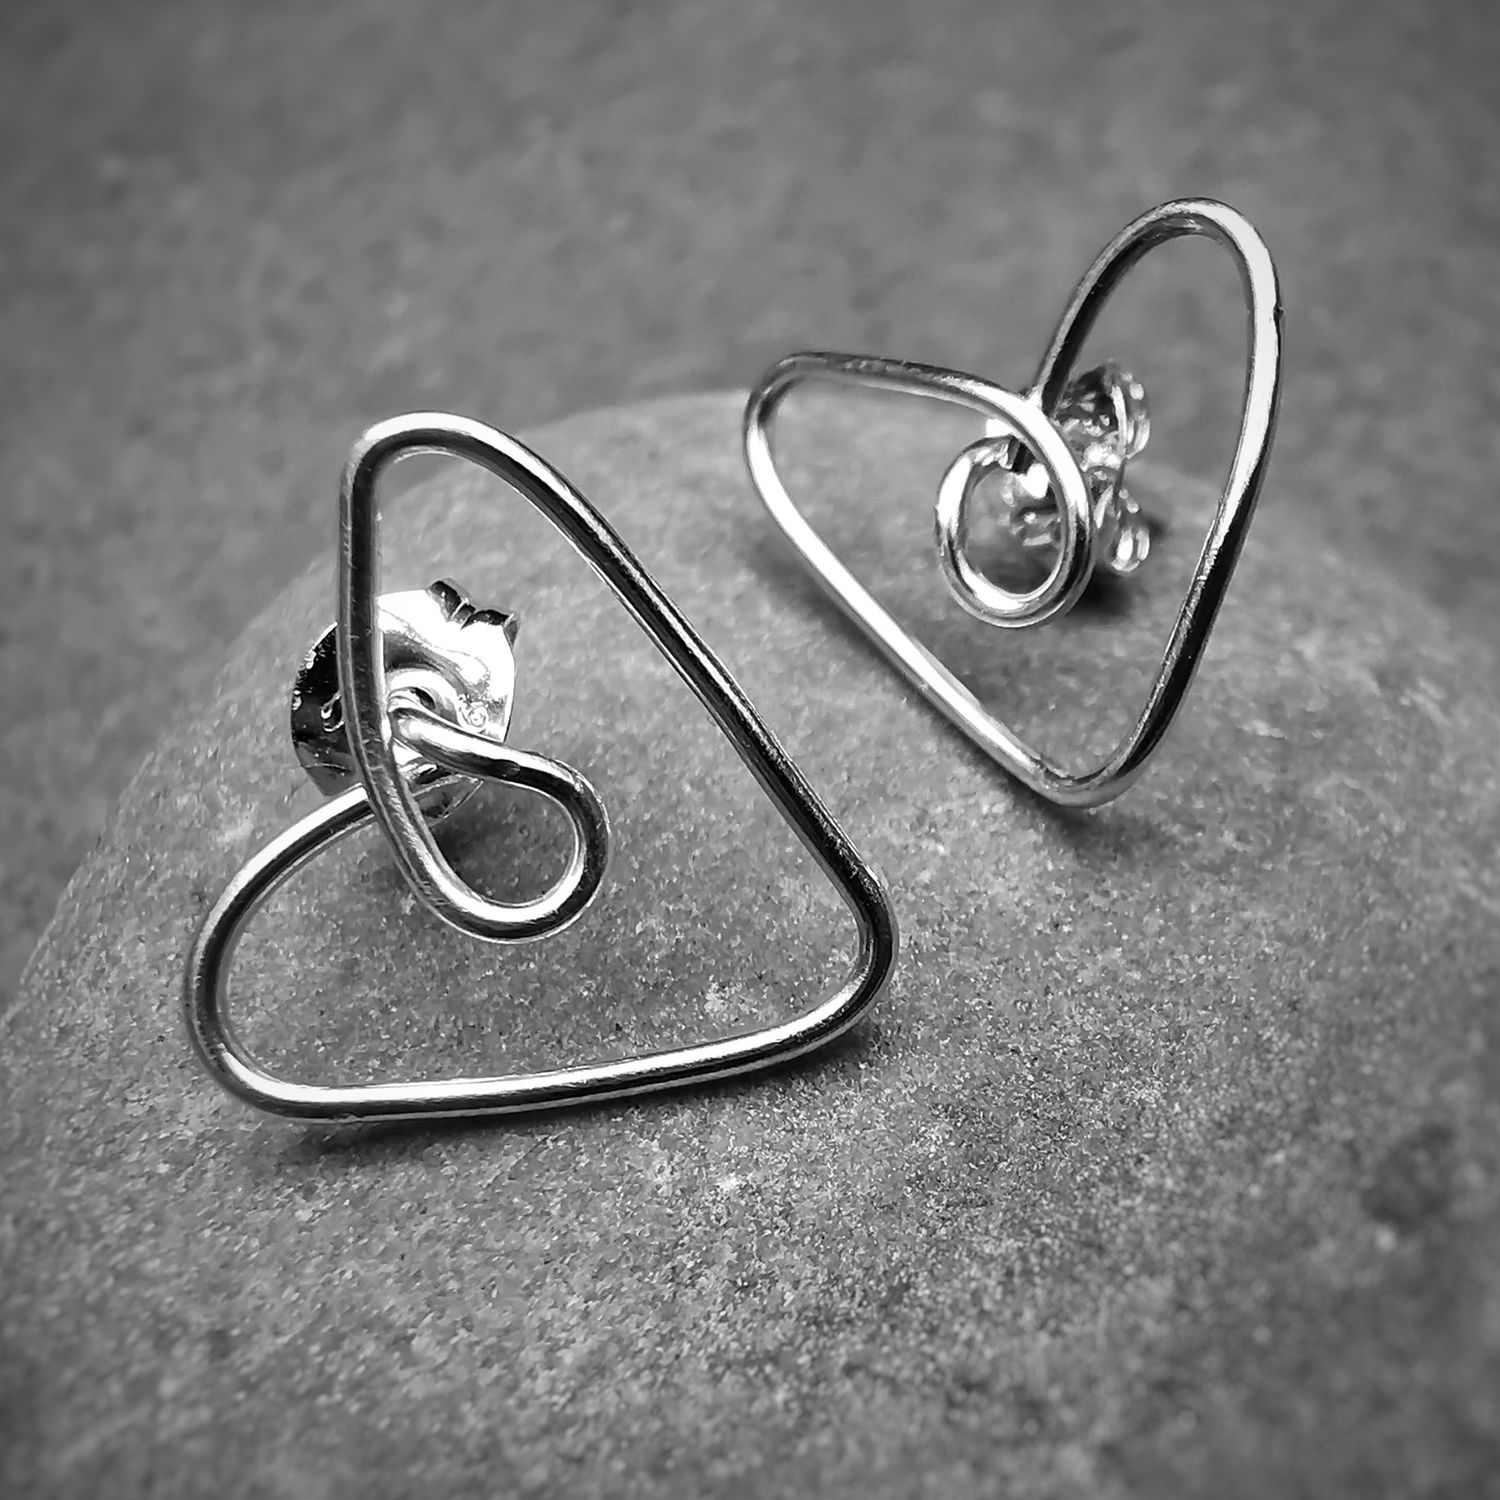
Make your own Valentine's Day Wonky Heart Earrings!
Guest tutor Lucie from My Little Bea Jewellery shares this beginner-friendly tutorial on how to make your own wonky heart earrings perfect for Valentine's Day!
Watch the tutorial below for the step by step instructions and shop all the tools and supplies you need on Kernowcraft's website.
If you try this project for yourself or recreate something similar, please tag @kernowcraft & @mylittlebeajewellery on Instagram - we would love to see!

Recommended Tools & Supplies
- 2 x 7cm 0.8mm round sterling silver wire or your choice of metal
- 2 x earrings backs
- Round nose pliers - you might also like our pack of pliers available here
- Wire cutters
- Needle file or cup burr
- Sandpaper/wet and dry sanding sheets
- Polishing papers or barrelling machine
Watch Lucie's Video Tutorial Below
Basic Step By Step Instructions
Step 1: make the loop
Take one piece of the wire and place your round nose pliers about 1cm from the end and bend the wire to make a right angle - this will form your earring post. Next, place the wire so the long part points away from the pliers then bend this over the pliers to form a loop.
Step 2: form the heart
Place your pliers about 0.5cm from the loop, bend the wire over the pliers until it forms the first half of the heart. Then place your pliers partway along the wire where it lines up with the loop at the top and make a sharp bend I make the point of the heart.
You should have enough wire to make another bend to form the other half of the heart, the end of the wire should just touch the loop, if you have any excess wire use your wire cutters to trim.
Step 3: file and sand
If your earring posts are too long simply use your wire cutters to trim to your preferred length. Using your needle file, file the end of the earring post to take off the sharp edge, next use a sanding sheet to soften the end a bit more. Alternatively, you can use a cup burr, which is specifically designed for rounding and smoothing the ends of wire.
Step 4: repeat
Repeat steps 1-3 with the second piece of wire.
Creating notches: if you would like to create notches on the posts where the earring scroll sits and you have limited tools - use the tips of round nose pliers to hold onto the wire approximately 2mm from the end and gently twist and squeeze the metal for form a notch.
Step 5 - polish
Use your polishing papers to give your earrings a lovely shine, or if you have a barrelling machine put them in there for that extra shine, this will also work harden them to make sure they keep their shape. You can also work harden wire by placing it on a steel block and tapping it lightly with a hammer, or use nylon jaw pliers to squeeze the metal for the same result. For more advice on work hardening, read Kernowcraft's advice page.
Finished!
Pop earring backs onto the posts and they’re ready to wear! If your earring backs or tight or loose - simply insert the tips of round nose pliers into one of the loops and gently twist to adjust, watch Kernowcraft's video to show you how! And there you have it, a pair of simple and elegant heart earrings perfect for everyday wear and perfect for Valentine's Day.
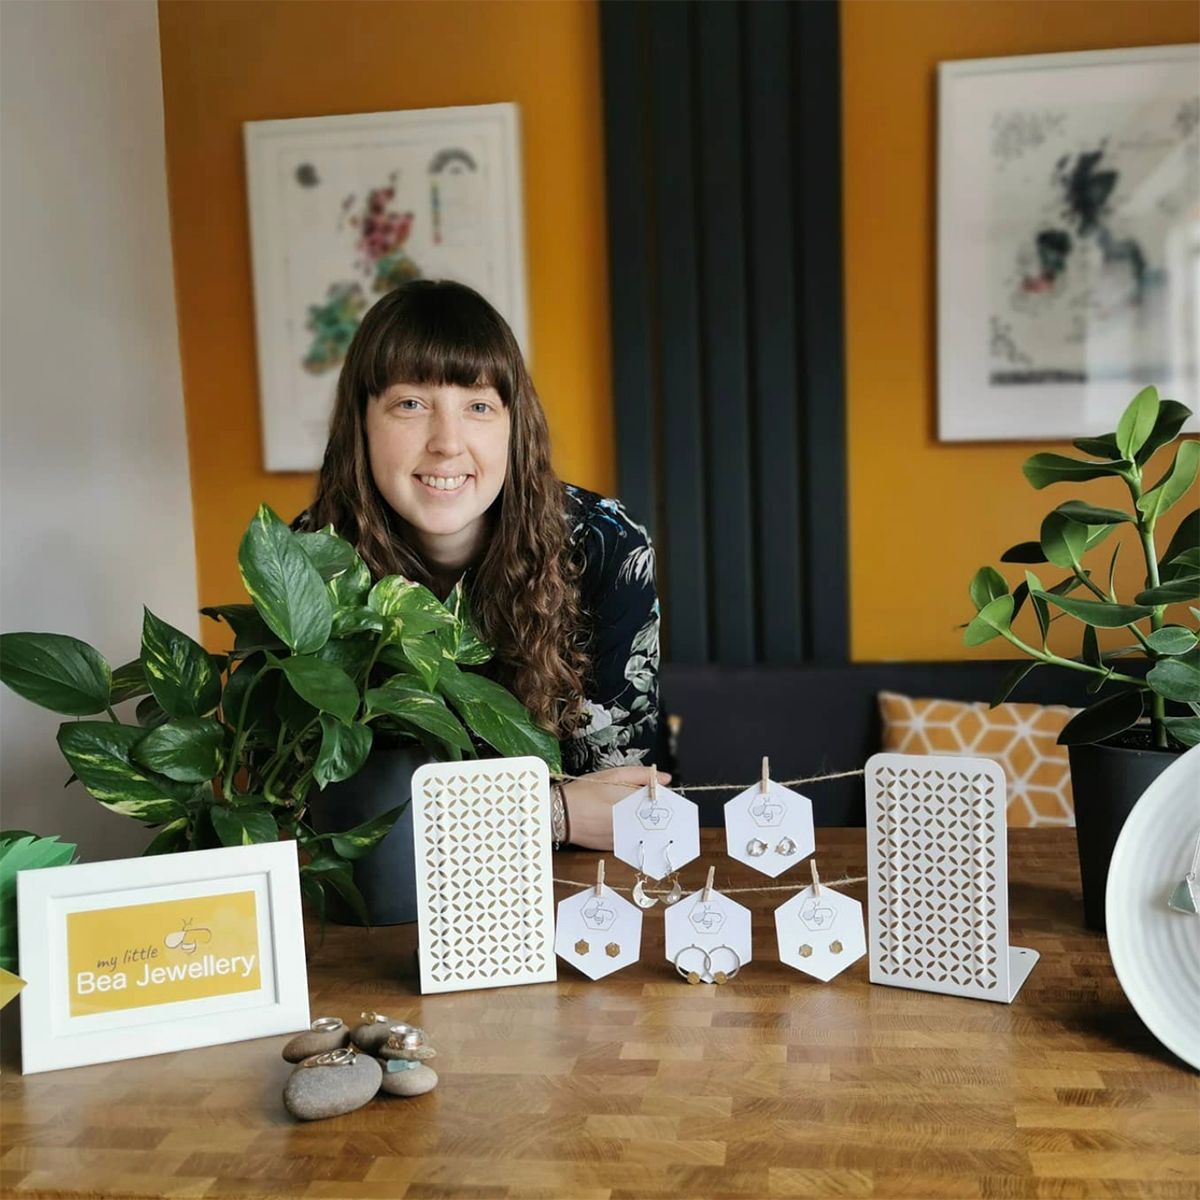
About Guest Tutor Lucie From My Little Bea Jeweller
My Little Bea Jewellery began in 2020 after Lucie experienced the significant loss of her second daughter Morwenna Bea in 2019.
She turned to jewellery making as a way of channelling her grief. There she found solace in drawing on her life experiences to create beautiful jewellery, she's particularly drawn to bees, the sea, stars & moons and sunflowers, all of which remind of her of her beautiful baby.
Follow her on Instagram @mylittlebeajewellery where she shares her jewellery making journey, you can also visit Lucie's Etsy shop.
ALSO IN THIS SECTION
- Tools For Making Jewellery Using Wire
- Your Guide On Choosing Wire For Jewellery Making
- Compare Jewellery Designs Using Different Sized Wire
- Wire Gauge Coversions
- How To Work Harden Jewellery Making Wire
- How To Use Nylon Jaw Pliers For Jewellery Making
- How To Use A Thing-A-Ma Jig For Jewellery Making
- How to Wire Wrap a Bead With a Headpin
- How To Wire Wrap A Bead
- How To Make A Wire Wrapped Bead Chain
- How To Wire Wrap A Briolette
- Wire Wrapped Cluster Briolette Earring Tutorial
- How To Make Wire Wrapped Bead Necklace With Handmade Clasp
- How To Wire Wrap A Rough Crystal
- How To Make Valentine's Day Earrings: Wonky Wire Hearts
- How To Make A Wire Wrapped Crystal Necklace
- 6 Wire Wrapped Ring Projects & Essential Tools
- How To Make A Wire Wrapped Bead Ring
- How To Make An Anxiety Ring
- How To Make A Wire Wrapped Gemstone Ring
- How To Make A Wire Wrapped Cabochon Pendant
- How To Make A Tree Of Life Pendant
- How To Wire Wrap A Gemstone Donut
- How To Make Christmas Tree Earrings
- Simple Sterling Silver Wire Scroll Earrings
- Soldered Circle Hoop Earrings With Beads Tutorial
- How To Make Wire Hoop Earrings & Customise Them
- Metal Charm Hoop Earring Tutorial
- How To Make A Wire Word Necklace
- 4 Wire Wrapped Gemstone Tube Bead Projects
- Festival Inspired Crystal Necklace Tutorial
HAVE A QUESTION?
If you have any questions, feel free to get in touch with our friendly team who will be more than happy to give you advice over email or on the phone.
You can learn more and find inspiration by visiting our Jewellery Making Tutorials, Jewellery Making Kits and YouTube Channel. Don't forget to follow us on social media and tag us in your designs on Instagram & Facebook, we would love to see!